

Thomas GrowNovember 6, 2025
Review: Philips 27B2G5500 Business Monitor – Think you’ve seen them all? Think again
Chetan Joshi
May 27, 2025
When it comes to monitors, few companies can boast of having a rich pedigree like Philips. I’m sure Frederick Philips and his son, Gerard, would have their minds blown away at the advances in technology since their humble beginnings in the 19th Century. Today, I’m going to cast my beady eye over the Philips 27b2g5500.
Firstly, let’s tackle the elephant in the room, namely…the name. Car manufacturers have always (as far as I know) given their cars exotic, aspirational monikers that roll off the tongue. Although some cars have been given numerical names, they still somehow manage to retain their identity, for example, BMW i7, i8, X5, X6, etc. However, when it comes to computers, monitors in particular, I, for one, get lost in all the numbers. Some might say that when you’ve seen one monitor, you’ve seen them all! However, if you inquire further, you develop an understanding of the various technologies that are packed into these slabs of technology we gaze at all day.

In the box
After following the illustrated instructions on the proper method of opening the box, I was rewarded with a vision of carefully laid out parts. Those who have set up monitors before will find the setup quite intuitive.
Inside you’ll find;
- A Quick Start Guide
- Power cables. I had both a two-round-pin plug attached and a standard UK three-pin plug.
- Two HDMI cables
- Aluminium base
- Aluminium Stand
Setting up
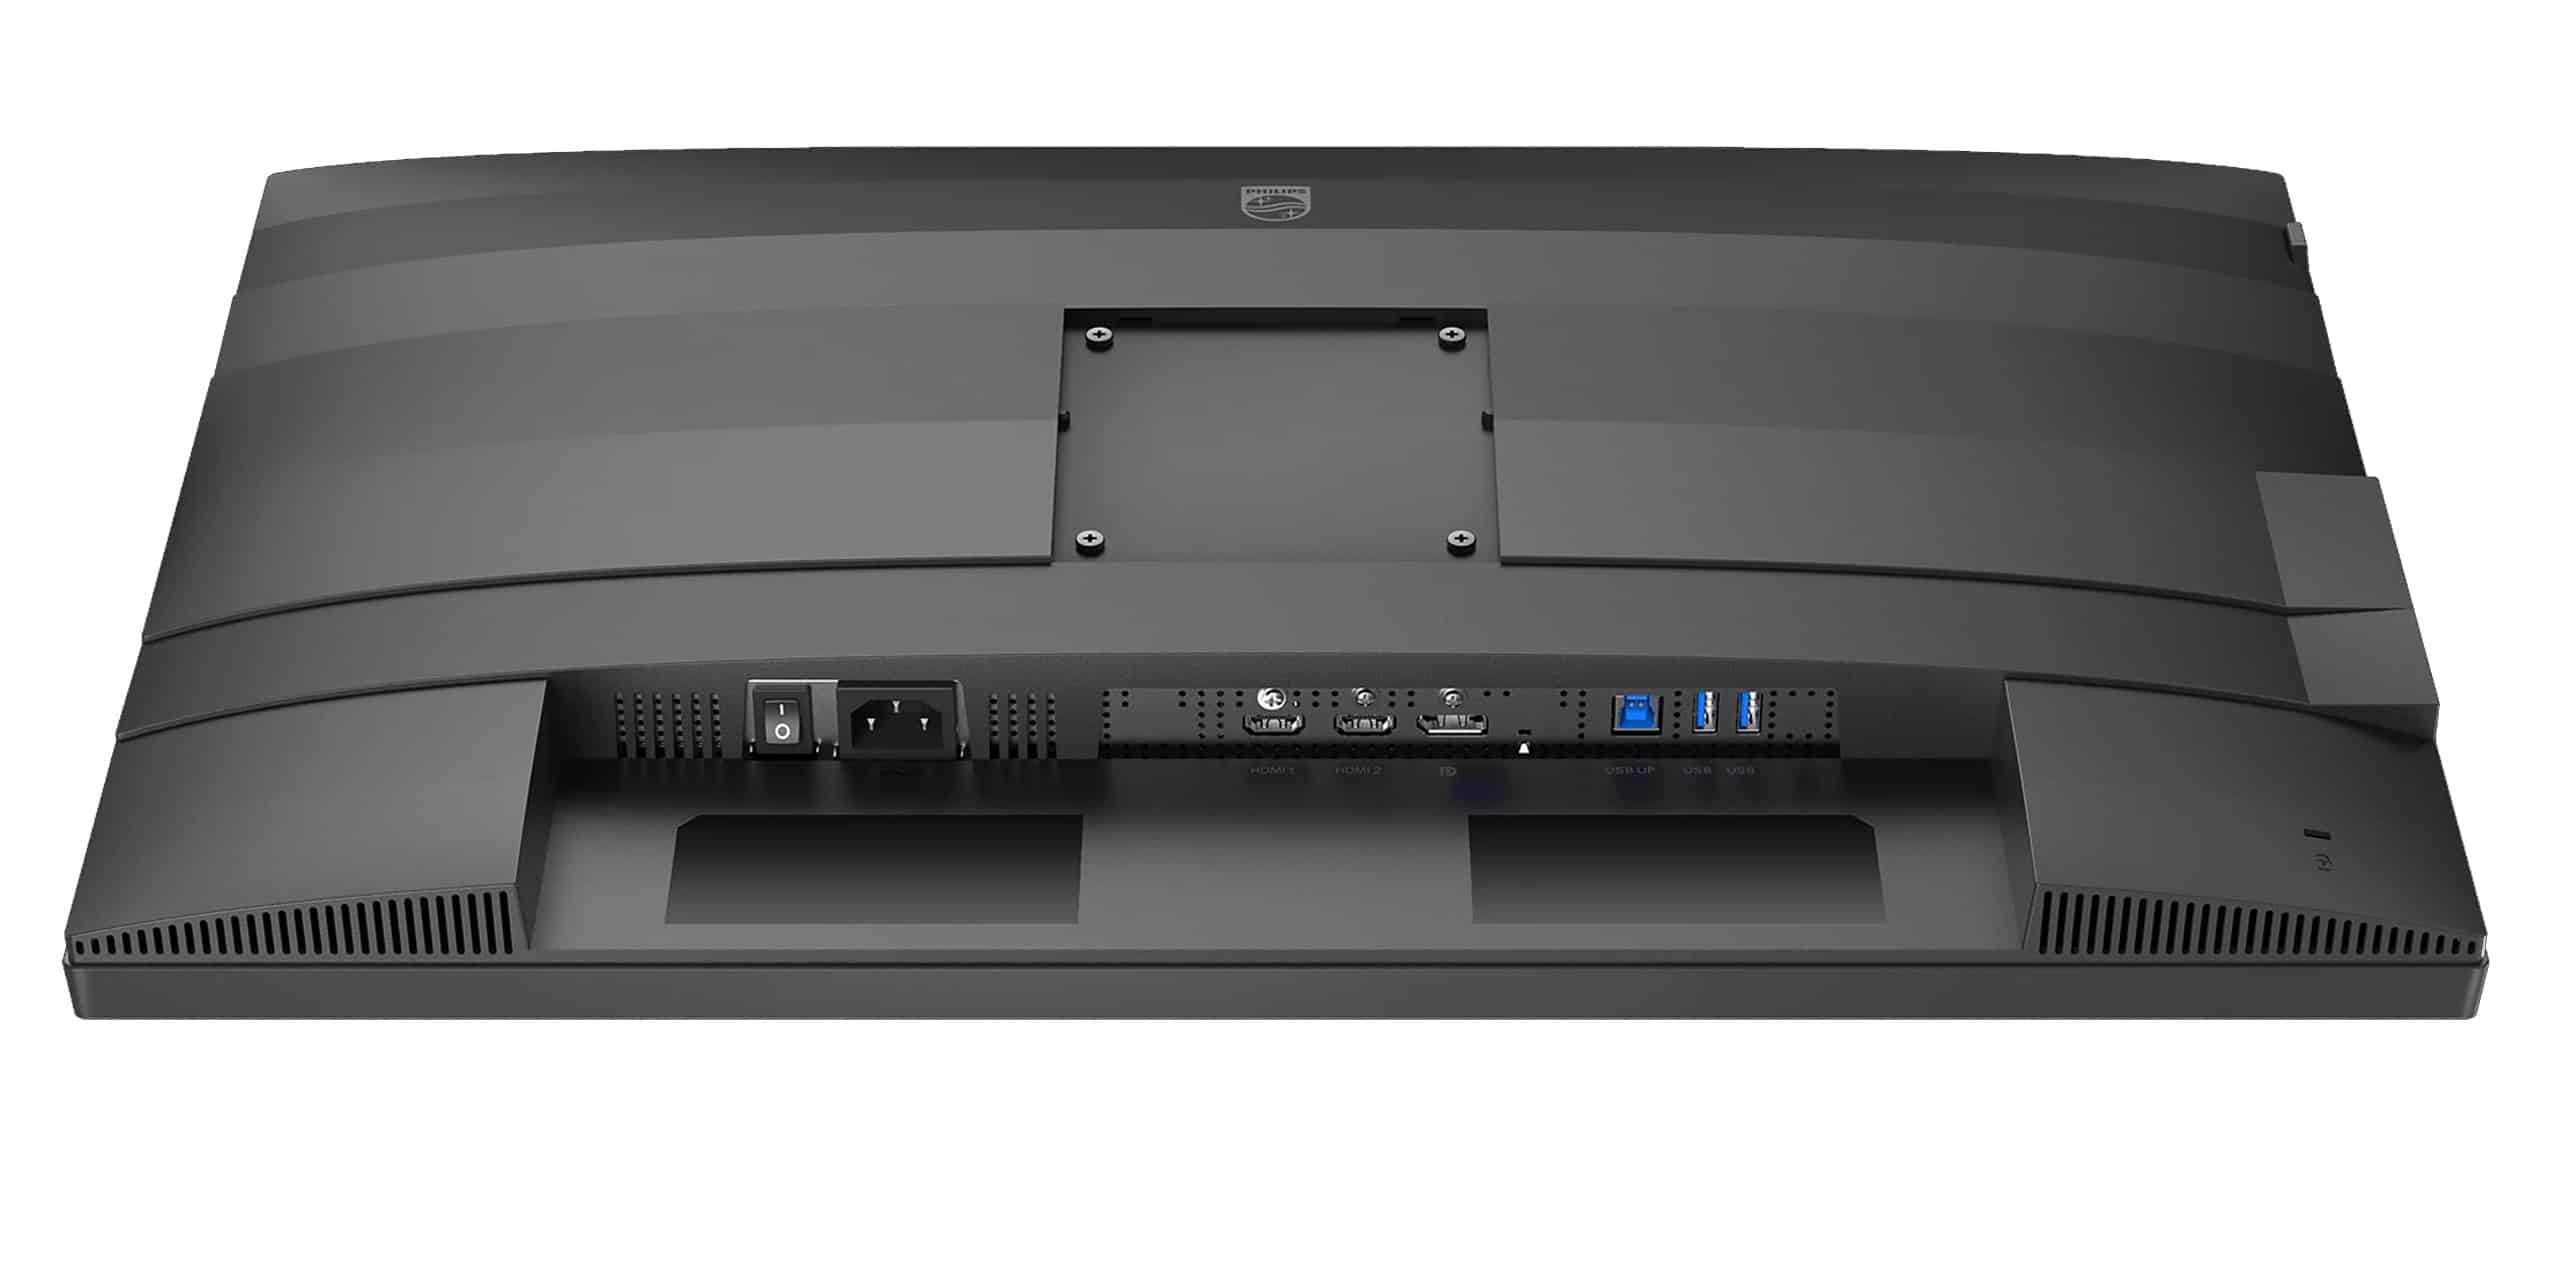
The theory of the setup process is simple. It is in practice too, to a certain degree. You see, in the world of product design, a designer’s main aesthetic goal is to find a harmonious balance between form and function. As with a previous Philips monitor review I did, the positioning of the connection ports is very similar. They are concealed on the underside of part of the rear shell that slightly over-hangs. Visually, I think this works. It gives the monitor a sleek and curvacious silhouette. However, from a practical view, this is not ideal (for me). Unless you connect your leads before mounting it onto the stand, you may find yourself crouching down and trying to look up to locate the correct port for your lead. For me, this was a challenge due to a lack of space. But I imagine not everyone will experience this.
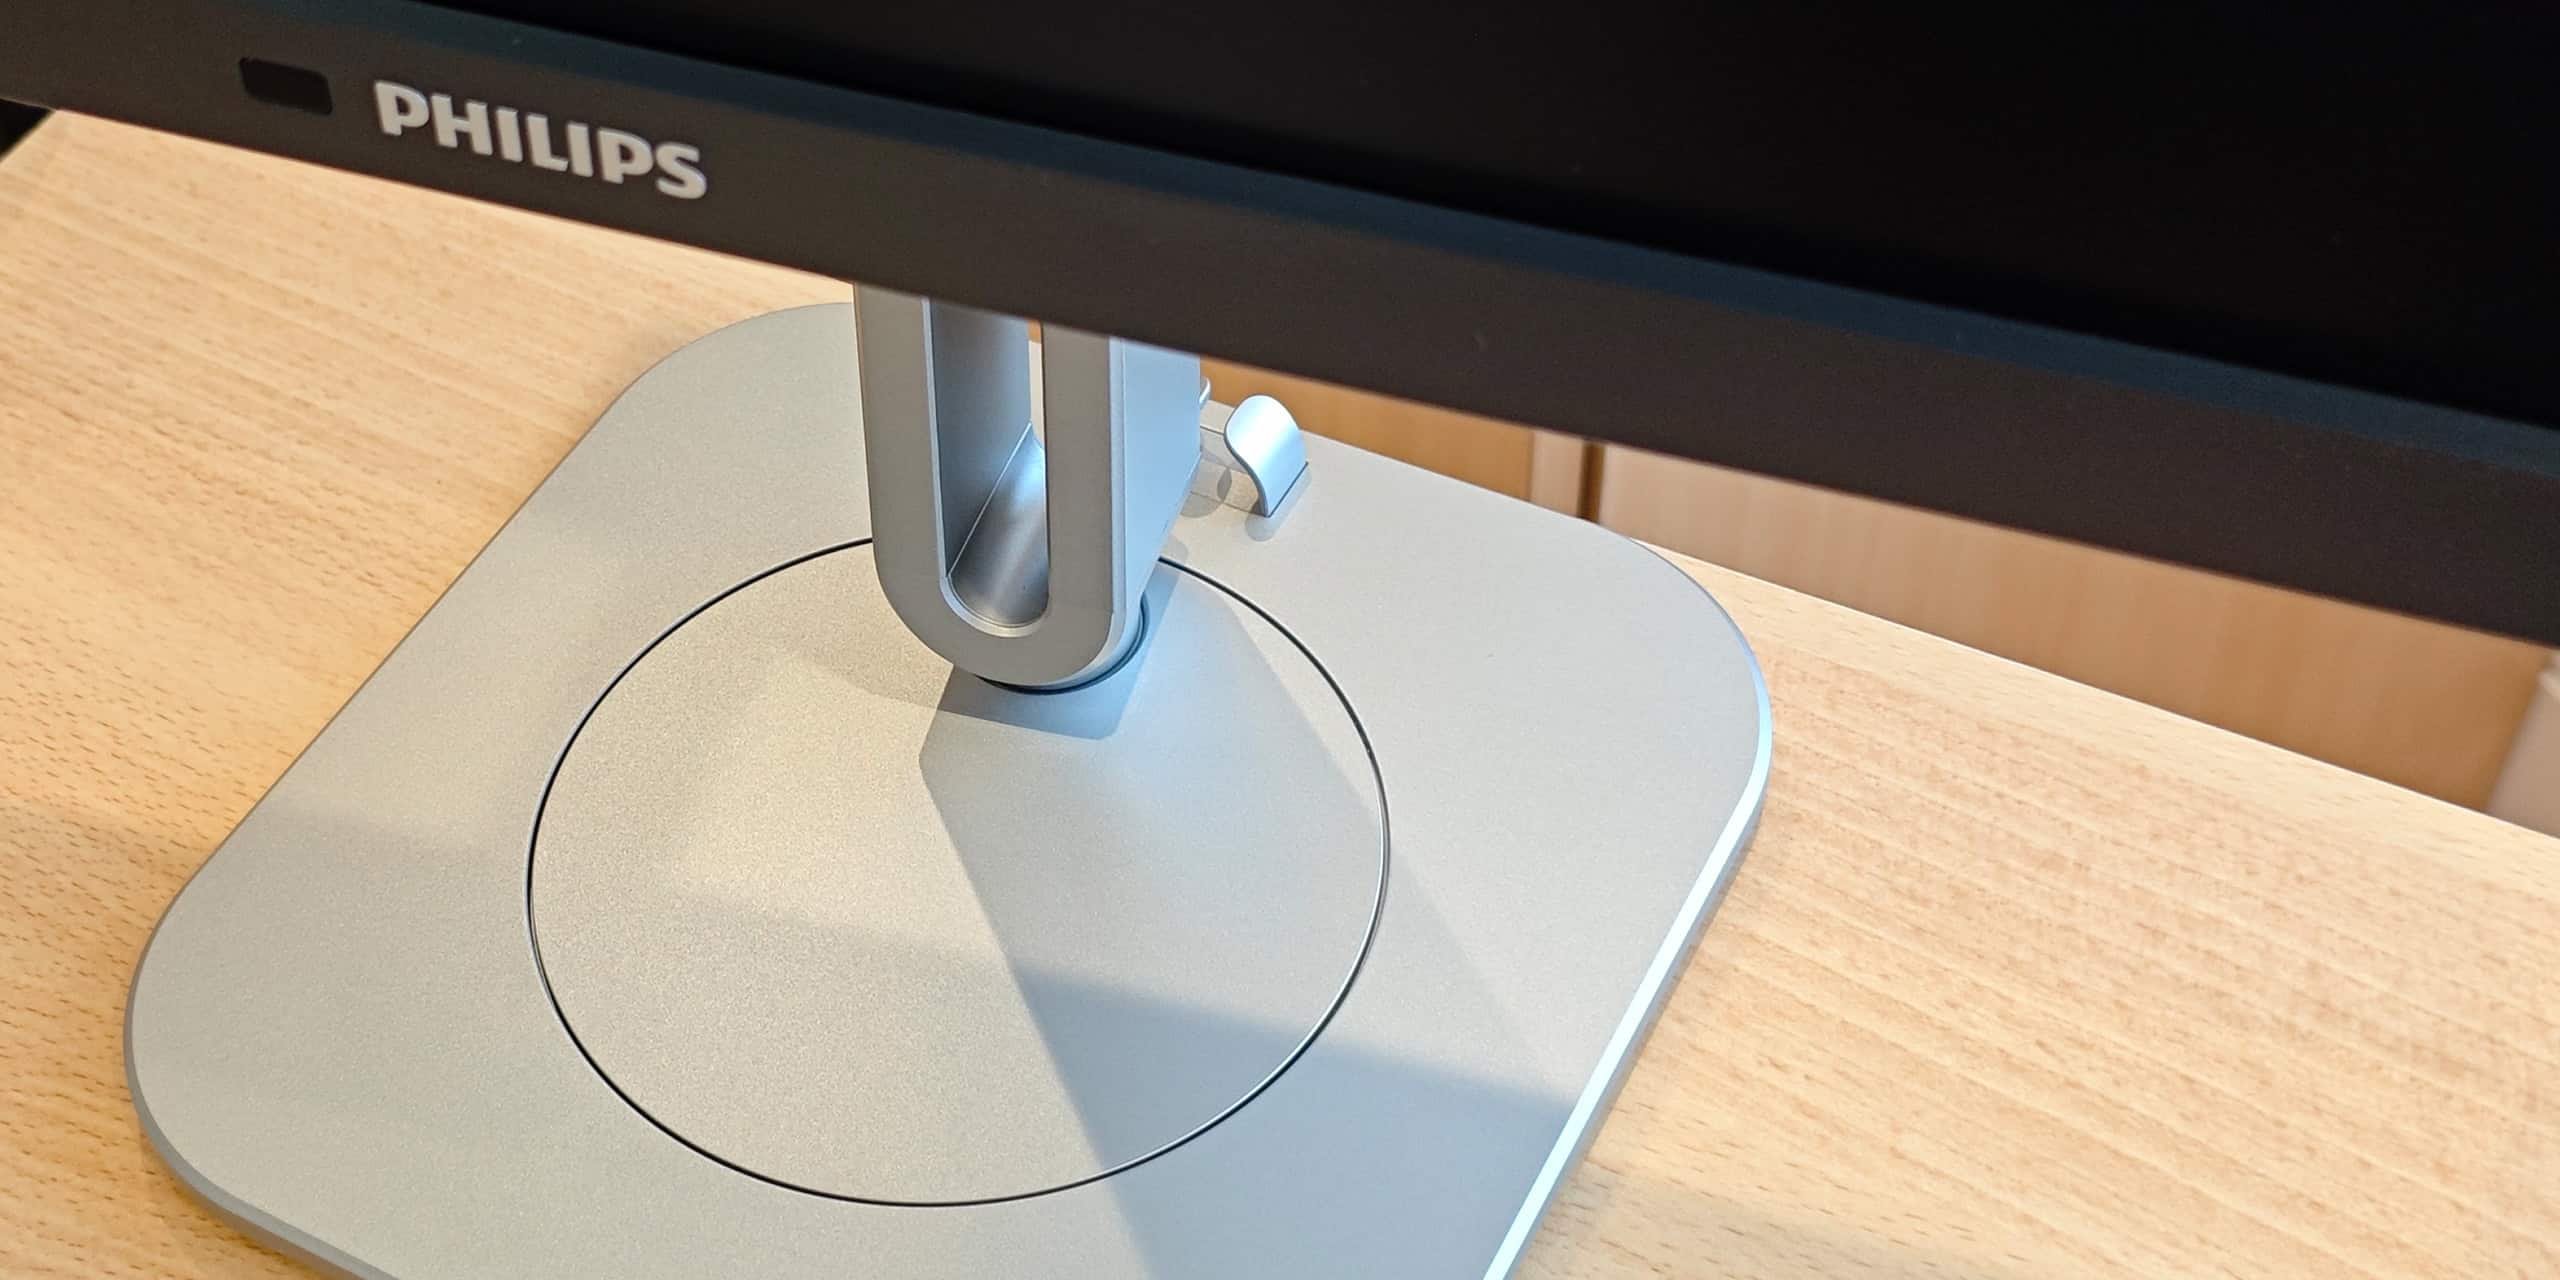
However, the user needs to attach the stand arm to the base by slotting it into place and tightening the screw with a cross-head scewdriver or the clever mechanism attached to the screw itself. Once the stand arm is attached securely, it is ready for the monitor to be fixed to it. This is done by placing the monitor on a soft surface (screen side down), locating the connection points and sliding the arm into place with a gentle click. To detach the monitor, you simply hold down the release button at the top of the arm and pull it away from the monitor.
The monitor can now be positioned on your desktop or work surface.
Features
On the rear of the arm is a black handle. This can be used to raise or lower the height of the monitor to your requirements. The monitor can also be tilted towards or away from you as desired. The base of the stand is designed so that the monitor can be swivelled left or right. Additionally, the monitor can also be flipped 90º from landscape to portrait if the user requires. Developed as a business monitor, this feature is sure to appeal to corporate users.
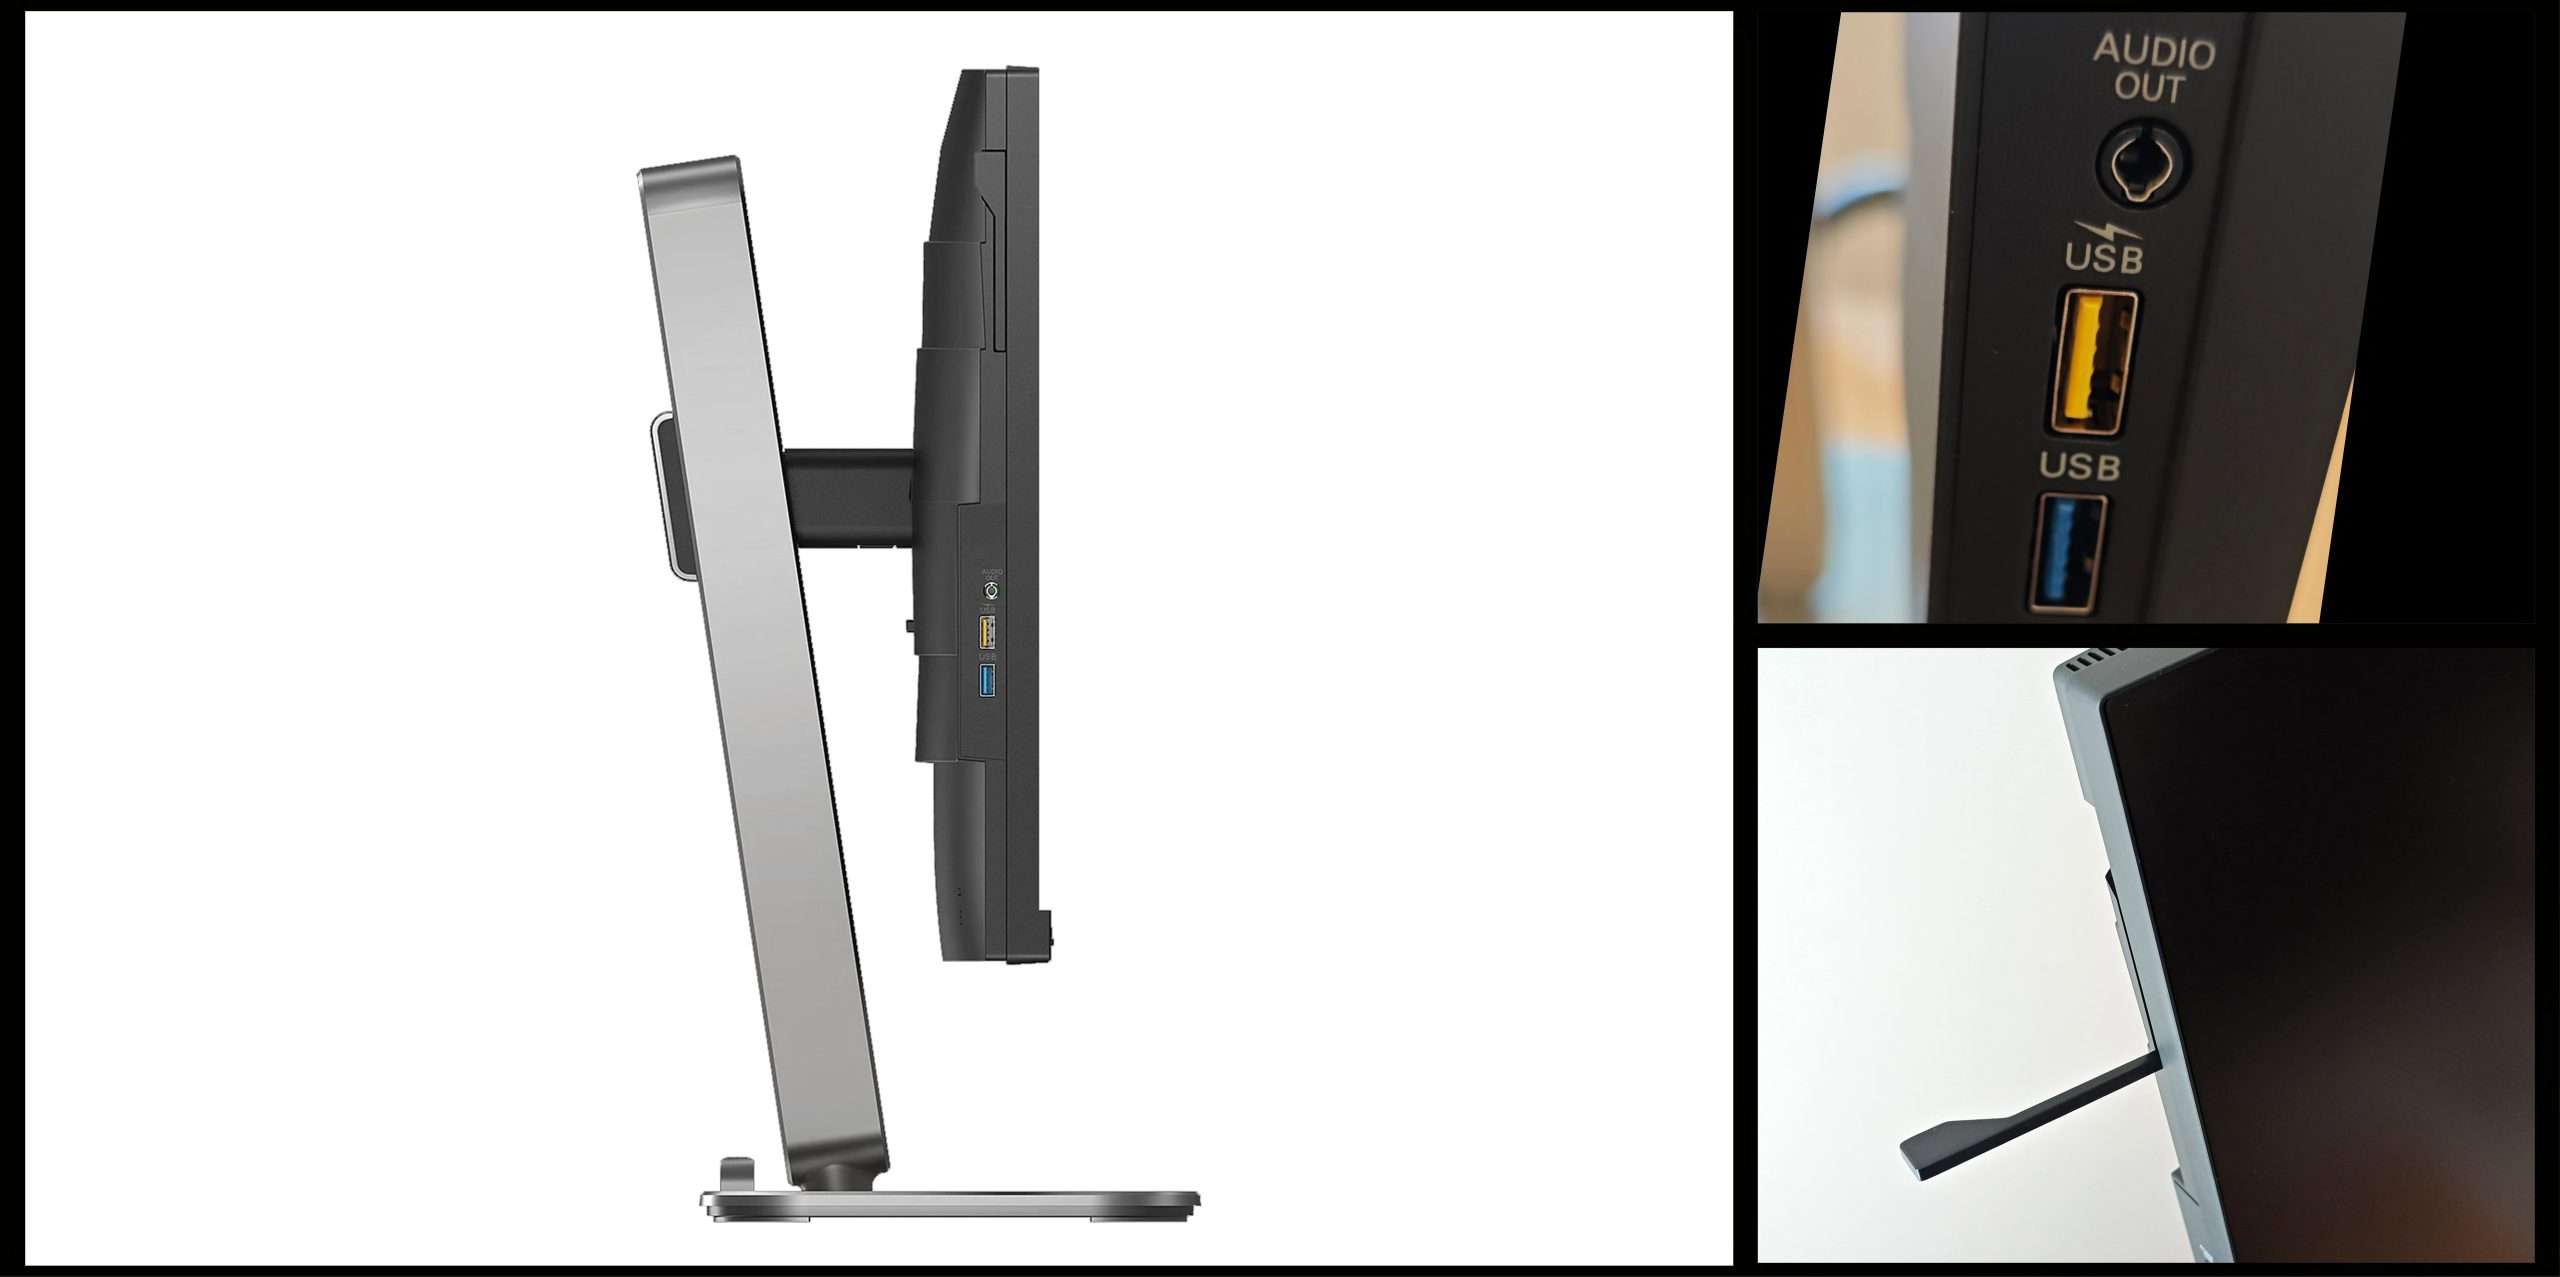
Another handy feature is the pop-out arm located on the upper left edge of the monitor. This arm, which is around 2.5” long can be flipped out 90º to act as a receptacle for headphones or a headset. I discovered this by accident as I was a little confused as to why the monitor was leaning a few degrees when stood upright on the desktop. Users who flip the monitor into portrait mode may find the arm to be superfluous but it’s nice to know it’s there.
As mentioned earlier, the connector ports are concealed at the back of the monitor. Assuming we’re looking at the monitor from the back, the lineup of ports includes:
- Power socket
- 2 x HDMI ports
- Display port
- USB-UP
- 2 x USB-A
Lower down on the left edge of the monitor, you will find an Audio out port and a further 2 x USB-A ports with one being a Fast Charger. Personally, I’d have liked to have swapped a couple of USB-A ports for USB-C ports as I’m forever searching for an adaptor to connect my devices, but that’s just me!
In Use
I opted to connect my MacBook with an HDMI adaptor. This had worked previously, so I didn’t see any reason why it wouldn’t again.
The operating buttons are located on the front of the monitor along the bottom right edge of the screen. There is an ON/OFF button as well as navigation buttons for adjusting the monitor’s functions. I switched the ON button and my Mac desktop immediately appeared on the monitor. As I had done this before, I intuitively opened the Display System Settings and configured the monitor how I wanted. There is the option to choose which monitor to designate as the main screen, whether you want the screen to be an extension of the laptop screen or if you want it to mirror it. Using the screen as an extension of your screen is an advantage if you want to have immediate access to multiple open documents, whereas mirroring would be useful if you’re conducting a presentation in front of an audience.
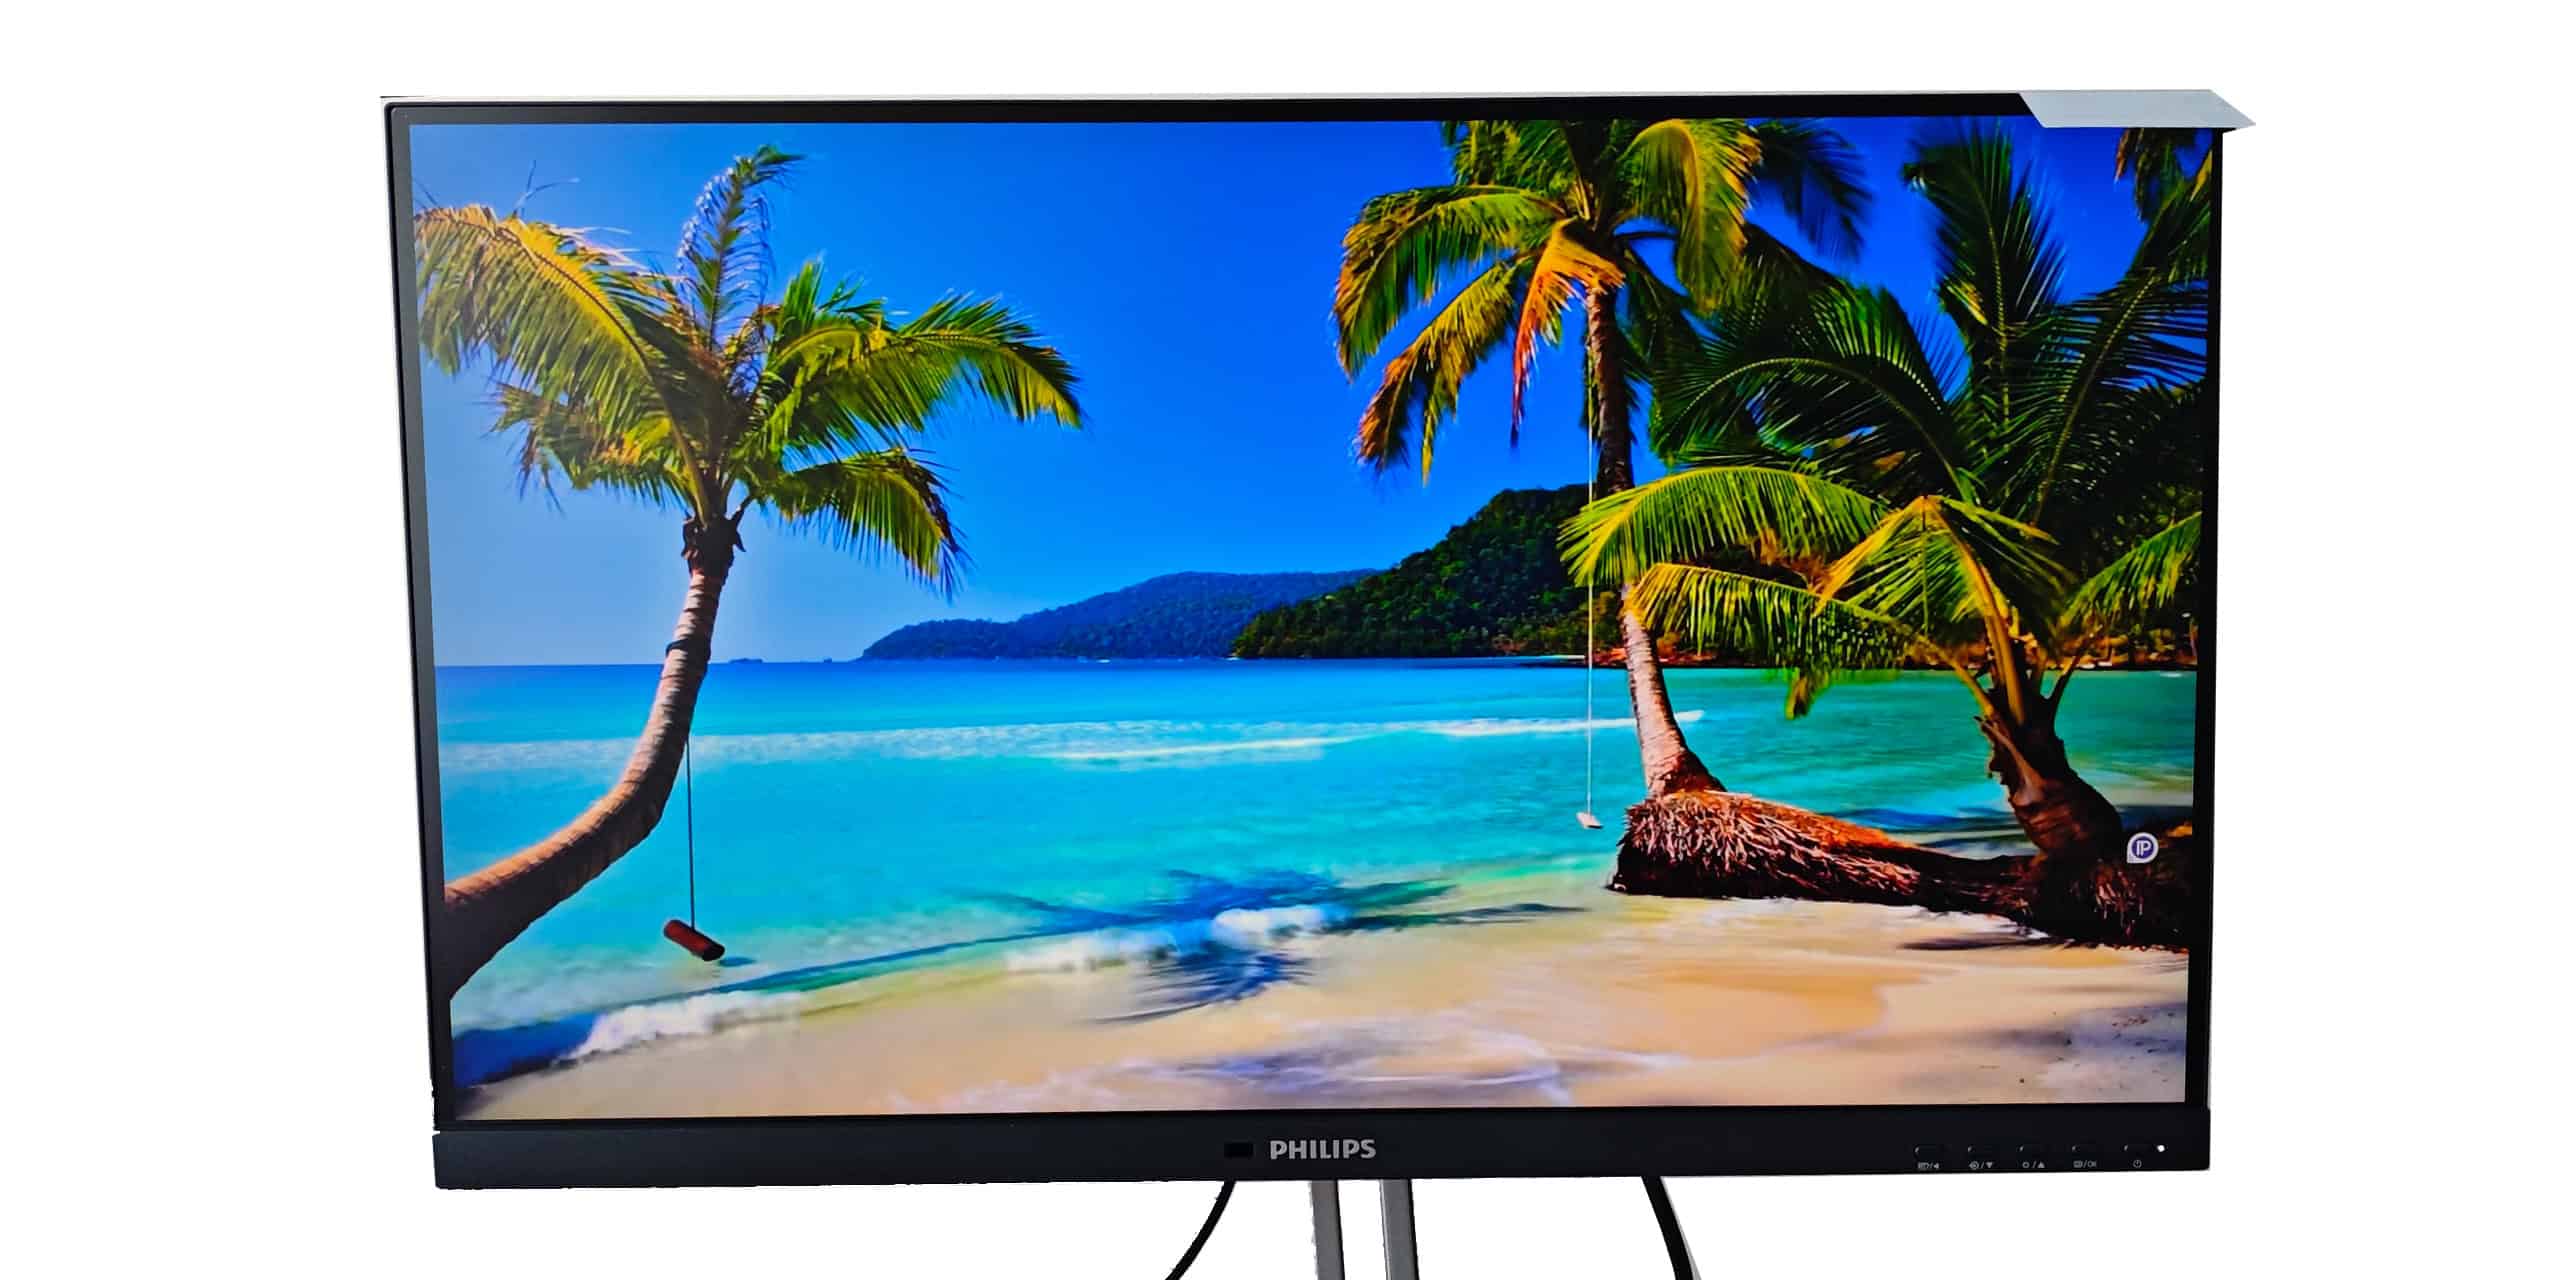
As a business-focused monitor, I found that it quite capably handled open documents in the most popular programs i.e. Word, Excel, Power Point simultaneously. Type was clear, sharp and legible at various sizes. The monitor also handled images quite well as you can see in the photo below.
While the surface of the screen isn’t glossy and the monitor does boast a wide viewing angle, I did still find that reflected light shining through the window made it somewhat difficult to view what was on screen.
Bearing in mind that it’s not a gaming monitor, I was surprised to notice that the monitor is equipped with two speakers, each pumping out 3W. I wasn’t expecting to be bowled over by the sound…and I wasn’t disappointed. The sound quality is lacklustre but I guess for humdrum, corporate presentations, it might suffice.
One aspect that I feel was overlooked is that, when the screen is perpendicular to the desktop i.e. You’re looking at it head-on, it isn’t possible to rotate it 90º even if it has been raised to the highest position of the stand arm. This is because the screen stops around an inch short of the top of the stand arm, forcing the corner of the screen to hit the base of the stand when rotated. To rotate the screen 90º, the user has to tilt the bottom of the monitor towards them at an angle to provide enough clearance for the monitor to rotate 90º, then it can be pushed back to an upright position if required.
Sum up
The Philips 27b2g5500 is an award-winning, capable 27” business monitor. It’s suitable for either home or office use and features technology that reduces eye-fatigue and saves on energy usage. It’s budget-friendly price of around £250 should also make it worth considering. Yes, there are other monitors from different suppliers in this price bracket, vying for your attention (and money), but there is very little competition when it comes to quality and heritage.
For more information on the Philips 27B2G5500, head on over to the Philips website.
advertising
Similar articles


Comments
Don't miss our best reviews
Occasional updates, only when we have something worth sharing
Occasional updates, only when we have something worth sharing

Thanks for your message!
We’ve received it and will get back to you soon.